CMS - Podcasts (Audio Files)
1. Add a new Podcast Section
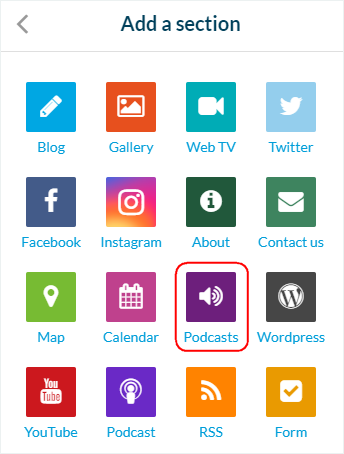
1. In the left swipe menu go to Design & Structure > Structure > Sections2. Click the green button "Add a section" from the right column
3. Add a sound section by choosing "Podcast" in the content items.
4. Give it a title
5. Click "Add"
2. Upload Audio Files
1. Click the 3 dots in your sections list, then "Edit the content".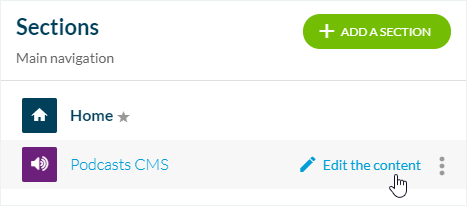
3. Give it a title
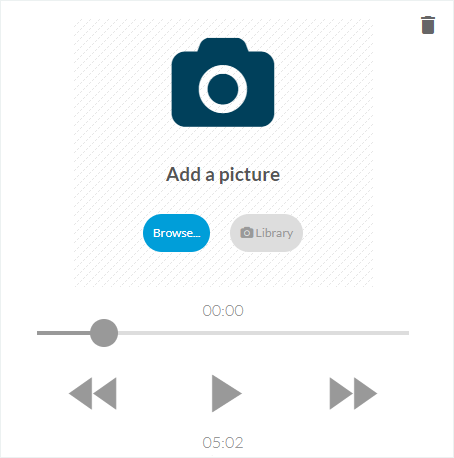
4. Click "Browse" to add your file from your computer
5. Optional: Add a picture from your computer or the online gallery
3. Publication Status of your Audio Content
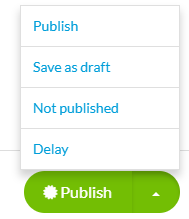
The button at the bottom right of the screen allows you to select the publication status of your content:-Publish: Your content will be visible immediately to your users.
-Draft: Your content will be saved but not visible to your users.
-Not published: Your content will be saved but not visible to your users. This status can be useful to inform your team members that an article must be reviewed before publication, for example.
-Delay: The publication of your content will be scheduled for the time and date you set.
4. Info Tab
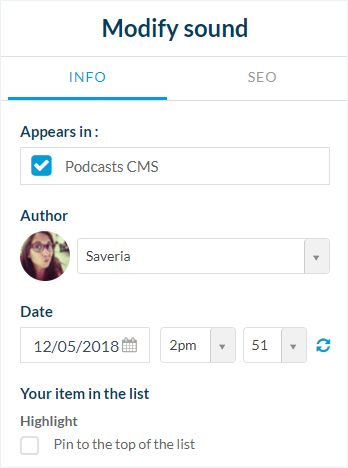
1. Go to the right column and click the tab Info 2. Select the section or category where your audio file will appear in the app
3. Select the author from the members of your team, or select the option "Free author" to enter a name manually
4. Set the date displayed on the sound page
5. Optional: Pin this audio file at the top of the list in the sections and categories where it is published.
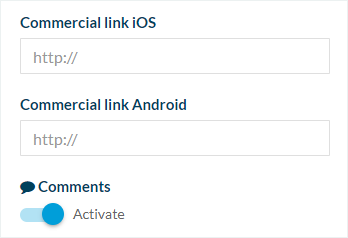
7. Enable or disable the comments for this particular audio file
5. SEO Tab
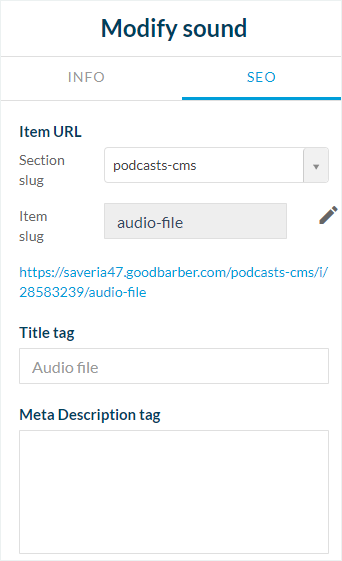
1. Optional: edit the slug2. Optional: edit the default title tag
3. Optional: edit default meta description tag
6. Settings of the Podcasts Section
To edit the settings of your podcast section, refer to this online help:
Settings of the sections.
Settings of the sections.
Related Articles
Content Management System (CMS) Sections
1. Add CMS sections CMS sections allow you to create and manage your content directly from the back office. Add a new CMS section : 1. In the left swipe menu, go to Design & Structure > Structure > Sections 2. Click the green button "Add a section" ...Export Content Created in Muse mBaaS (CMS Content)
You can receive an export file of the contents created with our internal Content Management System (CMS) on request from the support team. 1. Sections you Can Export Here are the types of CMS sections that can be exported: Article Video Photo Map ...PDF Files Management
1. Get the URL of your PDF File To include PDFs in the application: 1. PDF files must be hosted on an external platform (your website, for example) or in the menu Settings > Other settings > My Files in your backend*. *The URL of the PDF file is ...The Audio Playback - Native Feature
The Audio Playback option keeps the audio content from a sound or lives audio section playing when your native app is in the background. The audio keeps on playing even after the user has put the app in the background task by pressing the ...Duplicate CMS Content
This feature is useful if you wish to reuse the existing content of your app. For instance: - to create a second article in a different language, so you only need to translate the text in the copy of the article. - to add a new event very similar to ...