KML Section - Import a Multipoint KML File
1. Add a KML Map Section
The Map section allows you to display and customize geo-targeted points on a map in your app.
1. In the left swipe menu go to Content & Design > Content > Sections
2. Click the green button "+ Add a section" from the right column
3. Add a KML section by choosing "KML" in the content items.
4. Give it a title
5. Click "Add"
1. In the left swipe menu go to Content & Design > Content > Sections
2. Click the green button "+ Add a section" from the right column
3. Add a KML section by choosing "KML" in the content items.
4. Give it a title
5. Click "Add"
2. Import your Map Section
We recommend using Google Map to create your KML files.Important: The KML section can manage up to 1000 points.
Therefore your KML file must not contain more than 1000 items in order for your section to behave correctly.
Only the 100 first points of the map will be displayed at the launch of the section. To display the next 100 locations on the Map, you need to scroll down the locations list-view in order to load more. You can repeat the process for the next 100 locations (this applies only to KML sources).
3. Import your File
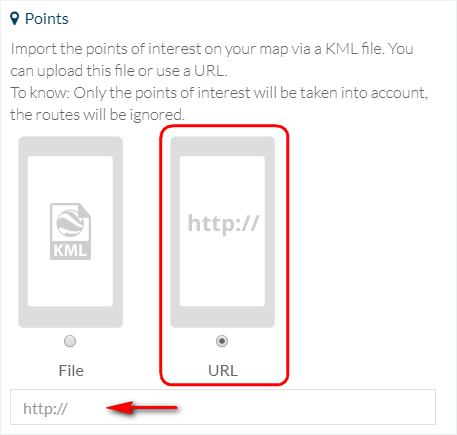
There is two options to import KML files into your backend.To upload a file:
1. Upload the file on your computer
2. Select the template File
3. Click "Browse" to import the file into your back office

1. Select the template Url
2. Fill in the url of your KML file
4. Design
To edit the design of your section:1. Go to the menu Content & Design > Design > Sections design
2. Click your section on the right column to access the design settings.


- Display the list view of your list of locations or disable its display by selecting/deselecting the check option "Show list".
- Decide whether to show the list or the map first by clicking on "Show the list first" in order to display it. Otherwise only the Map will be showed.


Related Articles
Display Lines and Polygon Using a kml File
The Map section can display the following geometries : Points Lines Polygons Points can be created using the CMS or can be imported using a KML file. Lines and Polygons are created by uploading a KML file into the map section. 1. KML Structure If you ...Content Management System (CMS) Section
1. Add CMS Section CMS sections allow you to create and manage your content directly from the back office. Add a new CMS section : 1. In the left swipe menu go to Content & Design > Content > Sections 2. Click the green button "Add a section" from ...Create a Map via a KML File with Google Maps
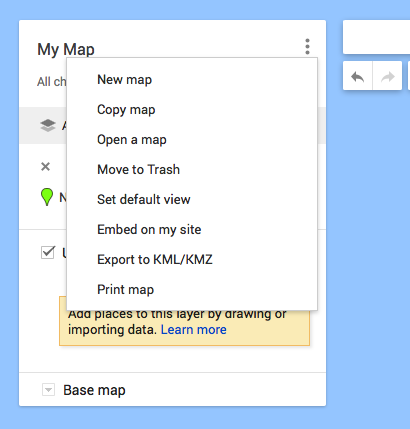
1. Creation of a MapTo begin the creation of your map, open Google Map in your browser: https://www.google.fr/maps/ In the menu, click on "Your places". Click on the Maps tab and select "Create a map" at the bottom of the page. 2. AttentionOnce you ...The Sections of the eCommerce App
1. Sections Management The Sections are the basis of your app. You can manage the sections of your application from the menu Content & Design > Content > Sections : The sections of your app are listed on the right side of the backend. Here you can ...Blog - CMS Article Section
Enhance your app with a blog to showcase your products from a different angle, by writing blog posts. The Blog section allows you to showcase your products and organize a story around your shop. You can then keep in touch with your clients and ...