Main Icons of the App
The Icon step is mandatory to generate your native applications and highlight your brand.
You should integrate an icon to illustrate your Progressive Web App (PWA) and your native apps.
The icon is a key visual element of your app. Web browsers use it as a favicon, it's displayed in push notifications to identify the sender, and it's displayed on the phone's home screen.

Depending on the plan you are subscribed to, only images for the available platforms will be asked for in your back office.
To set up your Icons:
1. Go to the left swipe menu Design & Structure > DESIGN > General Design
2. Click "Icon" on the right column.
1. Custom Icons
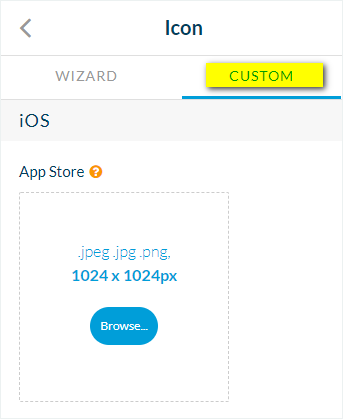
1. Click the Custom Tab
2. Create your icons following the right size and the format specified. Make sure you have the files on your computer
3. Upload them to your back office

*Size and format:
PWA:
- Site Logo: 512 X 512 px (.jpg, .jpeg or .png)
- Apple Touch Icon: 192 X 192 px (.jpg, .jpeg or .png)
- Push icon: 72 x 72 px - Attention, this icon has to be a .png file monochrome on a transparent background.
- Favicon: 48 X 48 px (.jpg, .jpeg or .png)
Android:
- Google Play: 512 X 512 px (.jpg, .jpeg or .png)
- Home screen: 192 X 192 px (.jpg, .jpeg or .png)
- Push icon: 72 x 72 px - Attention, this icon has to be a .png file white (#FFFFFF) on a transparent background (no other color will be accepted to respect Android guidelines).
iOS:
- App Store: 1024 X 1024 px (.png) Beware, transparent png are not allowed by Apple.
- Home screen: 180 X 180 px (.jpg, .jpeg or .png)
2. The Wizard
Use to wizard to create your icons directly from the back office.
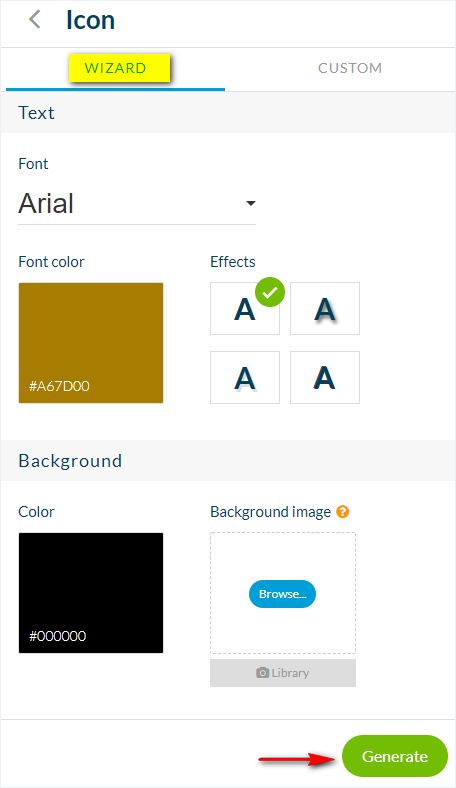
1. Click the Wizard Tab
2. Create your icons directly from the back office:
- Add a text or a picture
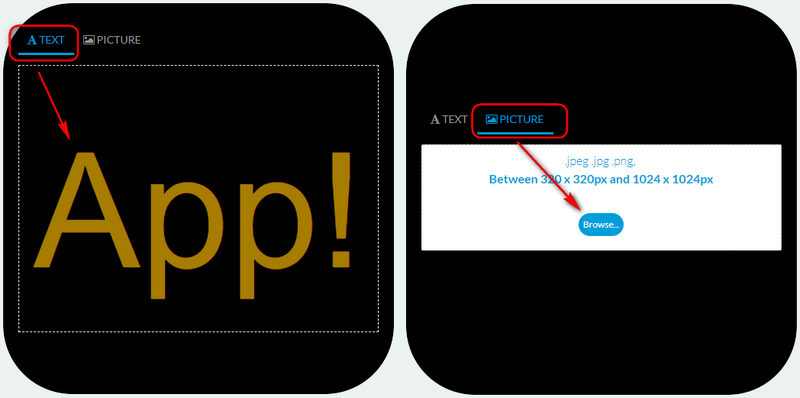
- Select a color for the background or add a background image
- Set the font, color, and effects of your text
3. Click "Generate"
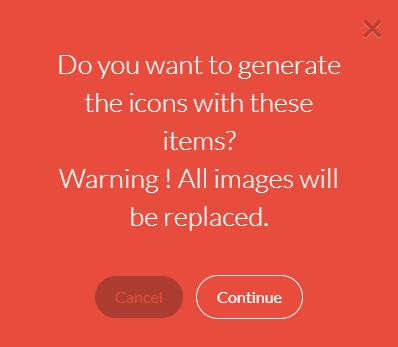
4. If you already have icons set, confirm by clicking "Continue" in the red warning to automatically generate all the formats needed for your app.
3. The Title
Whether you uploaded a custom icon or created it with the Wizard tool:
On the main screen, under your icon preview, enter a title for your app.
This title will appear under the icon of your app when it is installed on your users' devices. For this reason, it's best not to use a very long title here. In this example, the title is "My App."

Related Articles
Main Icons of the App (eCommerce App)
The Icon step is mandatory to generate your native applications and highlight your brand. You should integrate an icon that will illustrate your Progressive Web App (PWA) and your native apps. The icon is a key visual element of your app. Web ...Customize the Icons of your Navigation Menu
When setting your navigation menu, you can choose to display icons. Those icons can be displayed in your shortcuts, or in the main navigation, depending on the template you chose. To set your navigation menu: 1. Click "Menu " from the right panel ...Header (eCommerce App)
The header (logo and title) is the upper part of the app that is always visible and accessible in all sections. The header serves 4 purposes : to display your app's identity to give the section a title to display shortcuts to navigate in the app To ...Customize the Icon of your Navigation Menu (eCommerce App)
When setting your navigation menu, you can choose to display icons. Those icons can be displayed in your shortcuts, or in the main navigation depending on the template you chose. To set your navigation menu: 1. Click "Menu " from the right panel in ...Header
The header (Logo and Title) is the upper part of the app that is always visible and accessible in all sections. The header serves four purposes : to display your app's identity to give the section a title to display shortcuts to navigate in the app ...