Settings of the Sections
1. Sections Settings
To access the Settings of a section:
1- Go to Content & Design > Content > Sections
2 - Place the cursor of your mouse on a given section, in the right panel
3 - Click on the 3 dots that appear at the end of the line
4 - Choose "Settings"
The options displayed in the Settings of a section will depend on the section's type and the content source.

2. Edit the Name of a Section
You can change the name of a section from the Settings of that section.
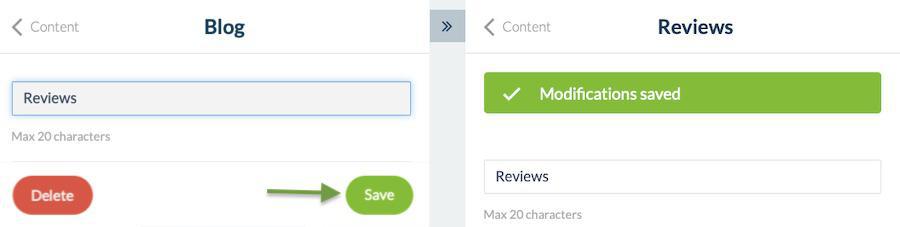
1 - Replace the default name with the one you want
2 - Click on the button "Save" at the bottom of the page
A message will inform you the modification is successful.
The new name of the section will also appear at the top of the Settings menu.
The number of characters allowed in the name of your sections depends on the template of your Navigation Menu.
3. Publication Status of the Section

You have the ability to change the publication status of the whole section by switching the button "Display the section".
You can also hide a section or make it visible again by clicking on the eye-shaped icon in the list of sections.

Warning:
When a section is not displayed, it is not accessible at all, as if it didn't exist.
Therefore, you should never make a link to a section set as hidden.
When a section is not displayed, it is not accessible at all, as if it didn't exist.
Therefore, you should never make a link to a section set as hidden.
4. Customize the URL Slug of a Section
In the "SEO" section of the Settings menu:
Fill in the content of the Title tag. The number of characters is limited.
Enter the content of the Meta Description tag
Modify the URL of the section. Only the URL path can be modified
Warning:
The URL of each section must be unique!
Never customize this URL with a word that is already used in another section of your app.
A snippet preview is updated in real-time to give you an idea of how your changes will look.
5. Delete a Section
At the bottom of the Settings menu, a red button allows you to delete the section.
You can also delete a section by clicking on the trash-can icon from the list of sections.
Either way, a confirmation message will ask you to confirm before deleting the section.
Click on Cancel to go back to the previous page, or Continue to delete the section.

Related Articles
The Sections of the eCommerce App
1. Sections Management The Sections are the basis of your app. You can manage the sections of your application from the menu Content & Design > Content > Sections : The sections of your app are listed on the right side of the backend. Here you can ...CMS - Podcast / Sound Sections
This CMS section allows you to upload your sound files directly into your backend Muse mBaaS to display them in a sound section. 1. Add a New Podcast Section 1. In the left swipe menu go to Content & Design > Content > Sections 2. Click the green ...Flickr & Custom Sections
You can display your Flickr pictures or pictures from a custom feed directly into a section of your app. Flickr section will only show in the app the content you have uploaded yourself, not the content initially uploaded by some users and marked as ...YouTube / Vimeo Sections
Those sections will allow you to display your videos published on your account Youtube or Vimeo. Muse mBaaS will retrieve your videos from those 2 platforms and display them in a native section on your app. The videos must be public with no ...RSS Podcast - Spreaker - Anchor Sections
1. RSS Podcast section To connect a podcast to your app, you simply need to use the RSS link of the podcast stream. This stream must respect the same standards as those required by iTunes. Some services like Simplecast or Ausha for instance are ...