The Submission Section
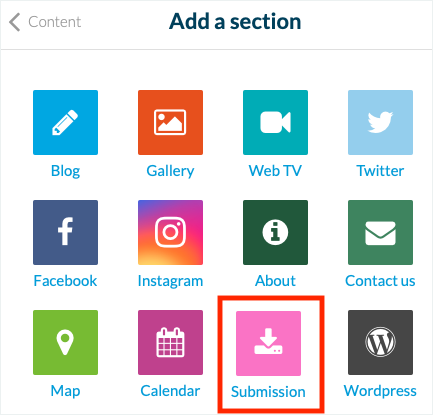
1. Add a Submission Section
A Submission section allows your users to submit content directly from your application.
You can add only one Submission section per app:
1. Go to the menu Design & Structure > Structure > Sections
2. Click the green button "Add a Section"
3. Add the section by choosing "Submission"
4. Give it a title when it is added to the list.
2. Type of User-Generated Content
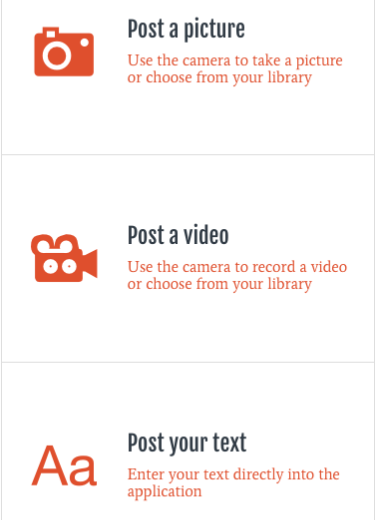
When you add a Submission section to your application, users can send you different types of content:
- Picture + text
- Video + text
- Text only
3. Content Management
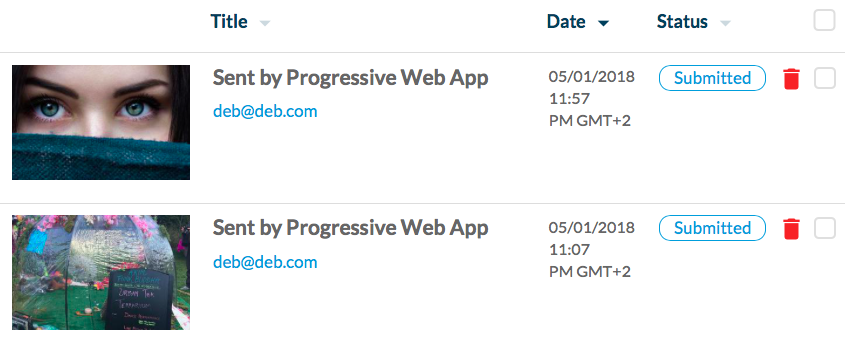
You will find the submitted content in the menu Content > Content list > Submission section.
You can also display it by selecting the Submission section in the section's list > Display the content.
Various info is accessible:
- The content itself
- The version of the app of the sender (PWA, Android, or iOS)
- The sender's email address
- The date and hour of the post
Click on the content to view it in detail.
You can edit it before publishing it on one of your Article sections the same way you would edit a CMS article content.

Warning: From the back office, you can directly republish content but not download it.
Original photo and video files submitted by the users can only be downloaded from the notification email.
Original photo and video files submitted by the users can only be downloaded from the notification email.
4. Publication of the User-Submitted Content
The user's submitted content will not be automatically published into the application.
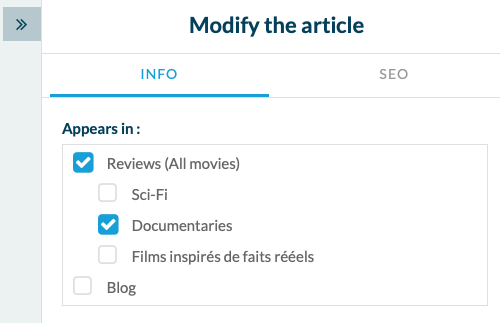
To make it visible on your app, you must publish it manually into a CMS Blog (article) section :
1. Select the category or main article section in the "Info" tab where you wish to publish this content.
2. Edit the content if needed
3. Save your modifications at the bottom of the page
 Warning: if you do not select a category or main page in the right panel of the back office (see screenshot below), this content will end up in "uncategorized " content once you saved your modifications.
5. Notification Email for Newly Submitted Content
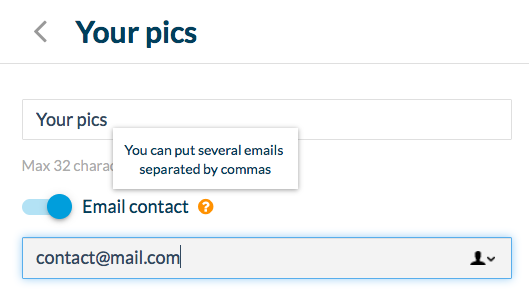
To register the email address(es) that will receive a notification email every time new content is posted:
1. Set the email in the Settings section.
- If the switch is on with at least one email registered, a notification email is sent only to that email address.
- If the switch is on but no email address is registered, a notification email is sent by default to all the team members who have access to the Submission section.
- If the switch is off, no notification email is sent when new content is posted by a user.
6. Customize the Submission Section
If you know your way around the API settings, you can customize your Submission section.
- To edit the titles, texts, and icons
- To remove sending options (to allow only photos, for example, no videos or text alone)
See this online help for more information about this.
- To remove sending options (to allow only photos, for example, no videos or text alone)
See this online help for more information about this.
Related Articles
Customizing the Submission Section
In your Submission section, there are three categories by default, each with a title and a predefined description: - "Post a picture" - "Post a video" - "Post your text" With API Access, it is possible to personalize the Submit section: - Personalize ...Muse mBaaS Form Section
A Form section is a form that your users fill in from your app and send to you. 1. Add a Form Section 1. In the left swipe menu go to Design & Structure > Structure > Sections 2. Click the green button "Add a section" from the right column ...Duplicate CMS Content
This feature is useful if you wish to reuse the existing content of your app. For instance: - to create a second article in a different language, so you only need to translate the text in the copy of the article. - to add a new event very similar to ...Custom Code in your App Content
Muse mBaaS offers the possibility to use external code within the app. There are a few options that allow you to do this: plugins, APIs, custom feeds, HTML sections/Widgets, etc. 1. Add a Plugin Section An HTML5 plugin for Muse mBaaS is a bundle of ...Content Management System (CMS) Sections
1. Add CMS sections CMS sections allow you to create and manage your content directly from the back office. Add a new CMS section : 1. In the left swipe menu, go to Design & Structure > Structure > Sections 2. Click the green button "Add a section" ...