Section Design
By default, your application has a global style applied to all your app's pages.
To modify colors, fonts, backgrounds, formats, etc... of each element of your application:
1. Go to the menu Design & Structure > Structure > Sections, which will show you the entirety of your sections on the right column
2. Click "Modify the style" in the right column next to the section to edit

1. Content Section's Design

Warning: the configurations available differ depending on the type of section you're modifying.
In this tutorial, we used an Article CMS section as an example.
Two parts of the section can be configured:
- List of articles (list view of the page)
- Article page itself (detailed page)
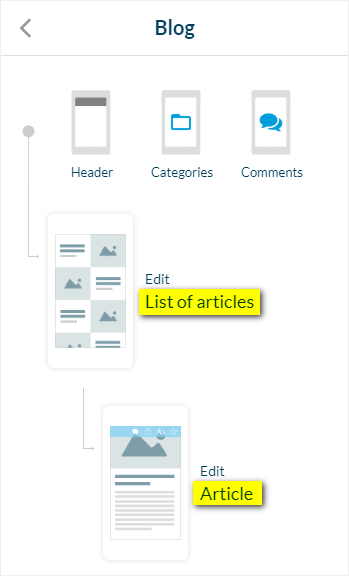
1. Click "Edit List of articles" or "Edit Article"
2. Configure the different options available detailed below:
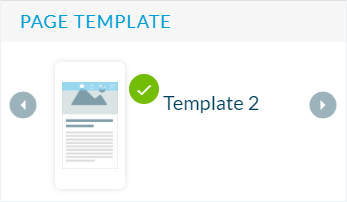
TEMPLATE
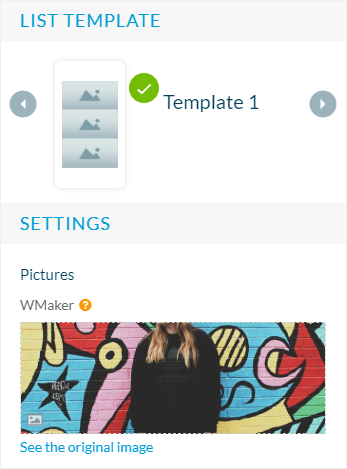
- Your template is clearly identified with a green icon
- Browse the different templates by using the arrows to select a new one
CONTENT
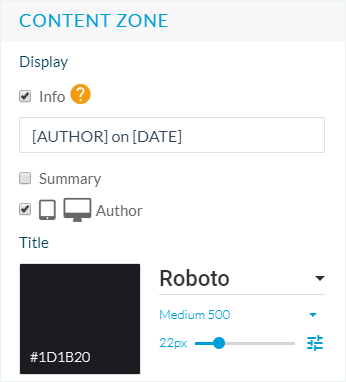
- Set the background color, font and text colors, content alignment, etc. of your section
- Edit the text and tokens that will be displayed in the Info settings on the list page, for instance
- Display the Author, and summary when the option is available
TOOLBAR
- Select the actions to display in the toolbar of your detailed article page, the colors of the icons etc.
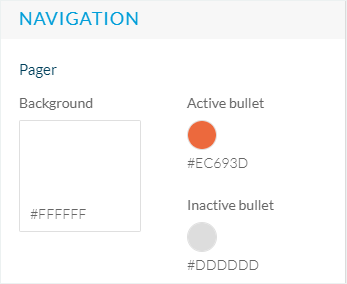
NAVIGATION
- Edit the Pager design settings*
THUMBNAIL
- Add a default thumbnail to display on your list page when there isn't one in your article

*option not available on all templates
HTML CODE*
- Edit the tokens and the text: delete, for instance, the date and author information:
Delete the small part of the code corresponding to this information.

*Not available when using template 4 for your detailed page.

2. Menu Section's Design
If you use a multi-level navigation system in your app, to configure the design of your Menu section:
1. Go to the menu Design & Structure > Structure > Sections
2. Click "Modify the style" next to your menu section
3. Click "Edit Menu"

4. Select the menu section's template
5. Use the settings available to configure the design (background images, effects, fonts, colors, icons, etc.)
3. Specific Header
Edit the design of the header for a specific section*.
1. Go to the menu Design & Structure > Structure > Sections
2. Click "Modify the style" next to the section
3. Click "Header"
4. Click "Modify the header of this section"

*The settings configuration works the same as for the general header.

To go back to the default settings and apply the design of the general header:
1. Go to the menu Design & Structure > Structure > Sections
2. Click "Modify the style" next to the section
3. Click "Header"
4. Click the gear icon in this specific header's settings
5. Click "Go back to default header"

Related Articles
Section Design (eCommerce App)
1. How to modify the design of your sections By default, your shop has a global style applied to all your app's pages. For more info, please refer to this online help. You can modify the default design of each section to fit the image of your brand. ...Design the Categories of your Section
Depending on the type of content you have on your app, you can add categories to your CMS content section or filter your external content when using an external source (Youtube, WordPress etc.). Please refer to this online help for more ...Copy the Design of a Section onto an another Section
This feature is made to copy the design of a section into another section of the same type, so you do not need to recreate the design from scratch: - It copies the full design settings of the source section page into the new section: fonts, colors, ...Copy the Design of a Section onto Another Section (eCommerce App)
This feature is made to copy the design of a section into another section of the same type, so you do not need to recreate the design from scratch: - It copies the full design settings of the source section page into the new section: fonts, colors, ...Design the Categories of your Sections (eCommerce App)
Depending on the type of content you have on your app, you can add categories to your CMS content section or filter your external content when using an external source (Youtube, WordPress, etc.). Please refer to this online help for more ...